Dec. 04, 2025
Oil leakage is a common problem in the use of hydraulic chucks, and the causes are varied. Based on extensive practical experience,
we have summarized and analyzed oil leakage issues and are sharing this information with our industry partners.
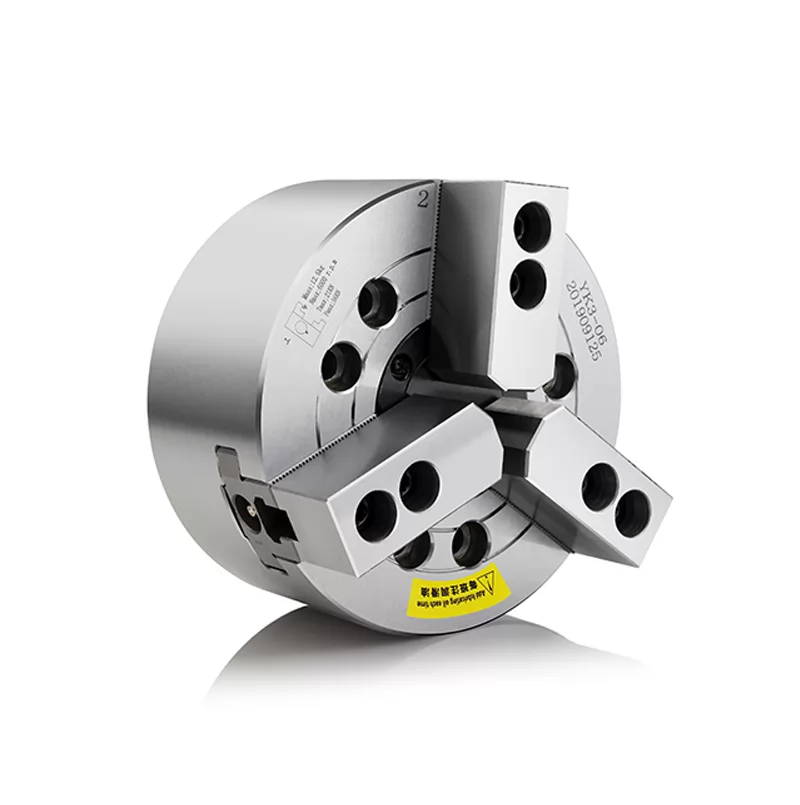
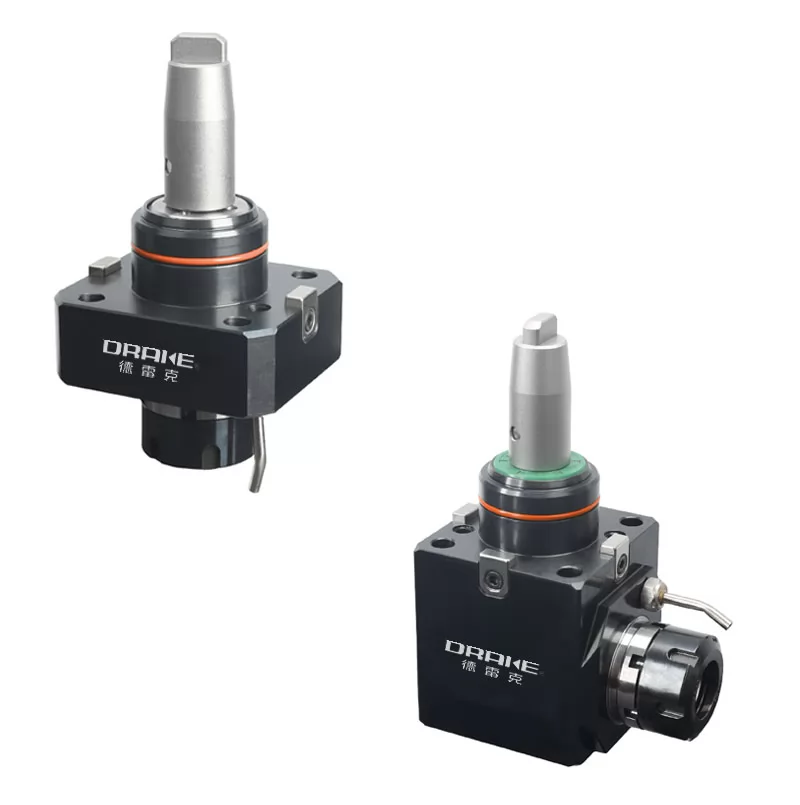
I. Chuck Indexing Shaft Cavity

Situation Description: The grease in the indexing cavity has thinned. After opening the end face seal cover and letting it stand for more than 5 minutes,
a mixture of grease and hydraulic oil (or hydraulic oil) will flow out.
Solution: 45-degree ejector pin cavity seal ring damaged
1. Replace the 45-degree ejector pin cavity seal ring;
2. Check if the 45-degree ejector pin head has a chamfer;
2.1 If there are areas without a chamfer, manually grind a chamfer;
3. Check the surface finish of the 45-degree ejector pin outer diameter;
3.1 If the surface finish is less than 1.6, replace the ejector pin;
4. Check the 90-degree ejector pin cavity, and if necessary, address issues in the order of 1-3.
90-degree ejector rod cavity seal ring damaged
1. Replace the 90-degree ejector rod cavity seal ring;
2. Check if the 90-degree ejector rod head has a chamfer;
2.1 If there are areas without a chamfer, manually grind to create one;
3. Check the surface finish of the 90-degree ejector rod outer diameter;
3.1 If the surface finish is less than 1.6, replace the ejector rod;
4. Check the 45-degree ejector rod cavity, and if necessary, process according to steps 1-3;
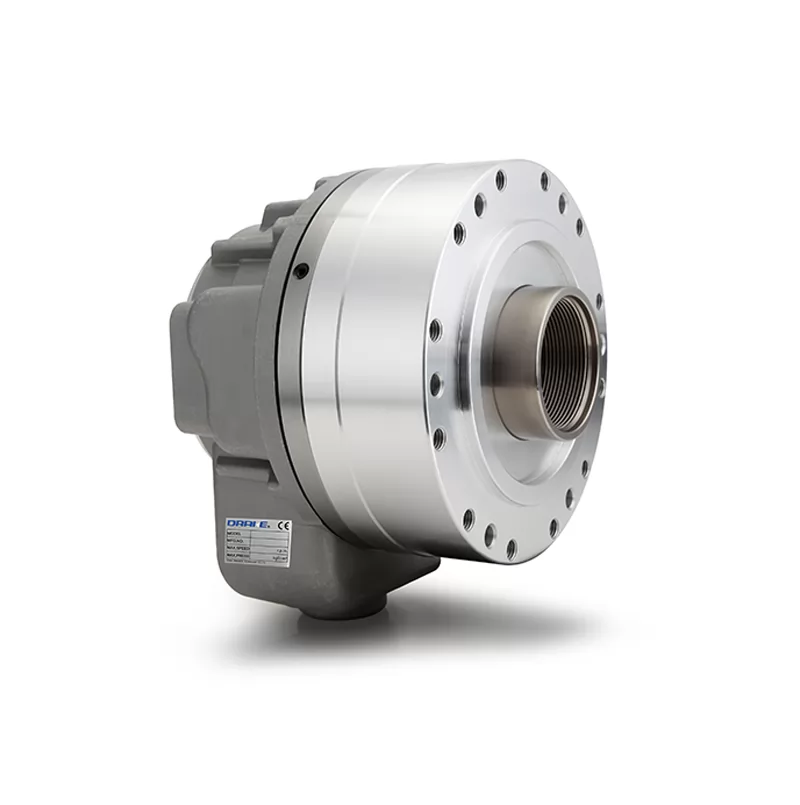
II. Contact area between clamping seat and cylinder body

Situation description: With the chuck in the loosened state, after standing for more than 10 minutes,
oil will seep from the contact area between the clamping seat and the chuck cylinder body, or remain on the protective glass of the observation equipment.
Remedy: Scratches, impurities, or damage to the PTFE in the cylinder body
1. Replace the PTFE in the cylinder body;
2. Check if there are any abnormalities in the seal ring groove? (Are there any abnormalities such as iron filings, burrs, or undersized parts?)
2.1.1 If there is an abnormality in the groove, please address it. If it cannot be addressed, replace the chuck and record the issue.
3. Check if there is any abnormal damage to the outer diameter of the clamping seat.
3.1 If there is damage, replace the clamping seat simultaneously.
Incorrect installation of PTFE at the cylinder body
1. Replace the PTFE at the cylinder body according to the PTFE installation standard.
Scratches on the outer diameter of the clamping seat
1. Check if there are any abnormal protrusions, burrs, or impurities at the contact point between the cylinder body and the clamping seat.
1.1 If present, clean or grind to remove them; if not, proceed to the next step.
2. Replace the clamping seat.
III. Contact point between the outer end cap of the clamping seat and the cylinder body

Situation description: Oil leaks from the contact point between the clamping seat and the chuck cylinder body when clamped. The amount of oil leaking is generally large, indicating a leak.
Troubleshooting:
IV. Chuck Top Rod Seal

Situation Description: Oil is gushing out at the chuck top rod seal. The leakage is severe, and the equipment cannot operate.
No leakage is observed at the connection between the rear flange and the distributor flange.
Troubleshooting:
1. Replace the top rod seal.
2. Check if the corresponding position on the cylinder body is chamfered.
2.1 If not, grind a chamfer.
V. Chuck Oil Plug

Situation Description: Oil is seeping from the oil plug, generally in small amounts. Troubleshooting:
Oil plug not tightened
1. Apply sealant or wrap with Teflon tape and then tighten the oil plug;
1.1. Check other parts of the distributor for similar issues. If not, follow the above steps;
Oil plug not coated with sealant or Teflon tape
1. Apply sealant or wrap with Teflon tape and then tighten the oil plug;
1.1. Check other parts of the distributor for similar issues. If not, follow the above steps;
Abnormal threaded hole
1. If the oil plug can be removed, repair the threads, reapply sealant or wrap with Teflon tape,
and then tighten the oil plug; if it cannot be removed, replace the chuck directly;
1.1. If the leak persists, replace the chuck;
VI. Oil leakage at the hydraulic hose crimp

Situation description: Oil is flowing down the hose from the crimp, usually forming oil droplets at the lower part of the hose. The leakage is small.
Troubleshooting:
Hose Assembly Crimping Problem:
1. Replace the hose;
Improper Hose Layout Causing Hose Damage:
1. Replace the hose;
2. Check the hose layout for abnormalities (too small bending radius, twisting, pressure from pulses at the crimping points, frequent contact and wear with other components).
2.1. If any abnormalities are found, correct them and record them;
Hose Has Reached the End of Its Service Life:
1. Replace the hose;
VII. Hydraulic Hose Oil Leakage

Situation Description:** Hydraulic hose is leaking oil.
Troubleshooting:
Hose Quality Issues:
1. Replace the hose.
Hose Damage Due to Improper Laying:
1. Replace the hose.
2. Check the hose laying for any abnormalities (too small bending radius, twisting, pressure from pulsating forces at the crimping points, frequent contact and wear with other components).
2.1. If any abnormalities are found, correct them and record them.
Hose Reaching the End of Service Life:
1. Replace the hose.
VIII. Hydraulic Hose and Valve Block Connector

Situation Description:** Oil seeps from the connection between the hose and the valve block connector and drips downwards, forming oil droplets at the lowest point. The leakage is generally small.
Troubleshooting: Assembly nut not tightened
1. Tighten the assembly nut;
1.1. Check other parts of the distributor for similar issues. If not, address the above;
Assembly core seal ring damaged
1. Replace the seal ring at the assembly core or tighten the assembly nut;
IX. Valve block and connector connection

Situation description: Oil seeps from the valve block and connector connection and drips downwards, forming oil droplets at the lowest point. The leakage is generally small.
Troubleshooting:
Loose Connector
1. Apply sealant or wrap with Teflon tape and then tighten the connector;
1.1. Check other parts of the valve block for similar issues. If not, address the above steps;
Connector Without Sealant or Teflon Tape
1. Apply sealant or wrap with Teflon tape and then tighten the connector;
1.1. Check other parts of the valve block for similar issues. If not, address the above steps;
Abnormal Threaded Hole
1. Repair the threads, reapply sealant or wrap with Teflon tape, and then tighten the connector;
1.1. If oil leakage persists, replace the distributor;
X. Solenoid Valve Area

Situation Description:There is leakage at the bottom of the solenoid valve where it overlaps with the valve block or other solenoid valves.
Obvious oil leakage marks can be observed on the underside.
Troubleshooting:
1. Damaged sealing ring at the connection between the solenoid valve and the valve: Replace the solenoid valve sealing ring;
2. Loose solenoid valve bolts: Tighten the solenoid valve bolts; Check if the solenoid valve bolts in other locations are tight;
2.1. If not, tighten the bolts;
3. Damaged solenoid valve coil sealing ring: Replace the solenoid valve;
 CO.,LTD.")