Jun. 23, 2025
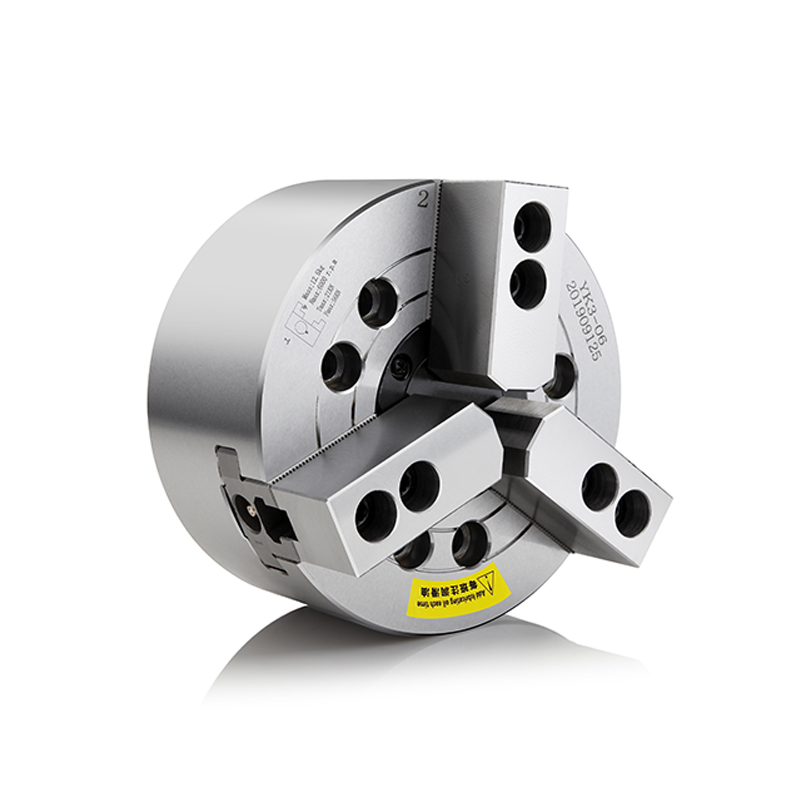
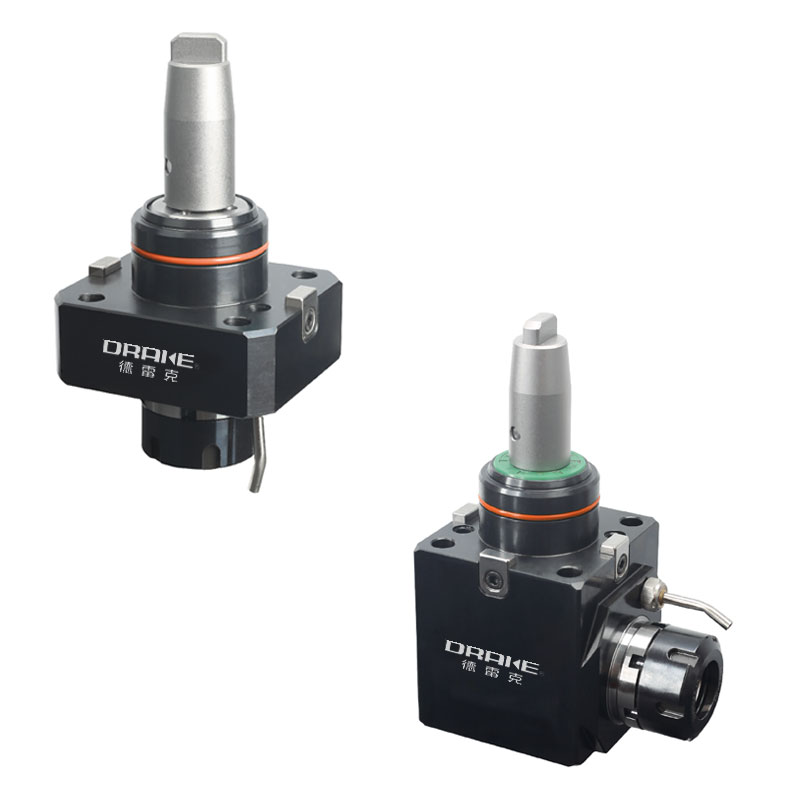
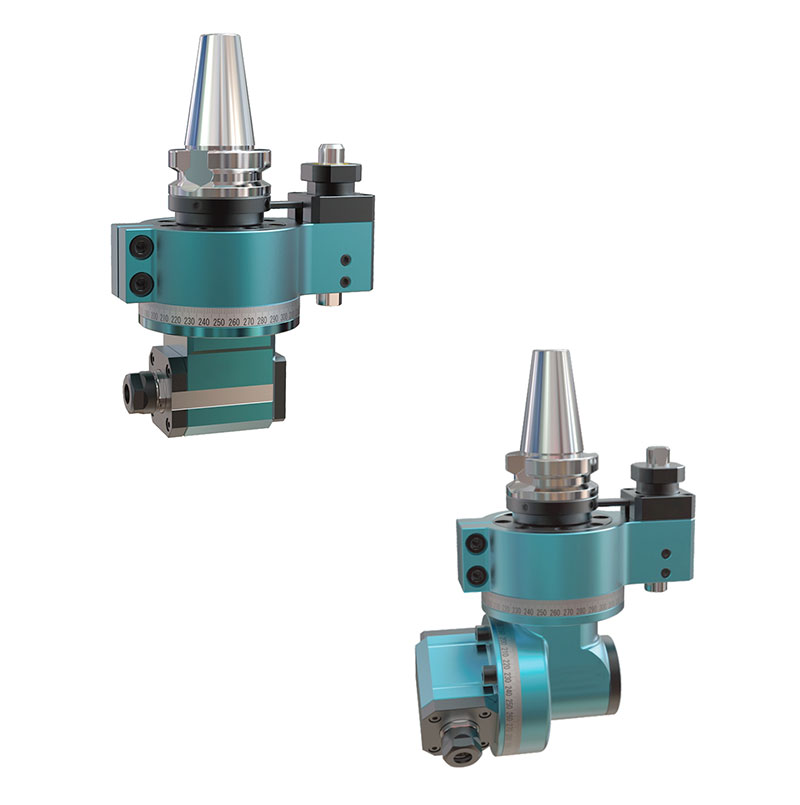
The CNC chuck is relatively easy to disassemble and is relatively durable. Novices can disassemble it while watching.
First, find the screws on the back and remove them. Use a wooden stick or a copper stick to hammer from the front.
After the chuck inside can take out the disc, remove the small chuck inside for positioning and dust prevention,
and then disassemble the corresponding position of the chuck side, remove the screws of the leveling screwdriver,
carefully take out the flat rectangular threaded disk, and then remove the digital chuck.
Clean the internal flat rectangular thread, hammer with a wooden stick, install the bevel gear shaft (it is also necessary to clean the dirt between the teeth),
screw on the fixing screws, and when installing the small and large chucks on the back, carefully check whether there are any bumps on the contact surface.
Be sure to carefully check the accuracy of the chuck, and carefully use a file to flatten and tighten the screws.

In order to ensure that the collet still has excellent precision in long-term applications, lubrication is very critical.
At the end of the work, please try to use a hot air gun or similar special tools to clean the collet itself and the ropeway surface.
Use cutting fluid with anti-rust treatment effect to prevent rust inside the collet. If rust occurs, it will reduce the clamping force, so be careful.
The collet must be taken out and thoroughly cleaned at least once every six months,
but if the digital chuck is used to drill cast iron, it should be thoroughly cleaned at least once or more every two months.
Check all parts for cracks and damage. If the situation is serious, replace them with new products immediately.
 CO.,LTD.")